Practice 3
You can see completed examples here:
For this practice exercise, we are going to start with your practice 2 HTML code and text.
And we are going to use that to create 3 visually identical web pages using the 3 different types of CSS styling: internal, external, and inline.
If you need a refresher on how to create folders and files in VS Code, see the instructions for the previous practice exercise.
Create a folder named
3Create a file inside named
index.htmlCreate another file named
external.htmlAnd create a third file named
inline.html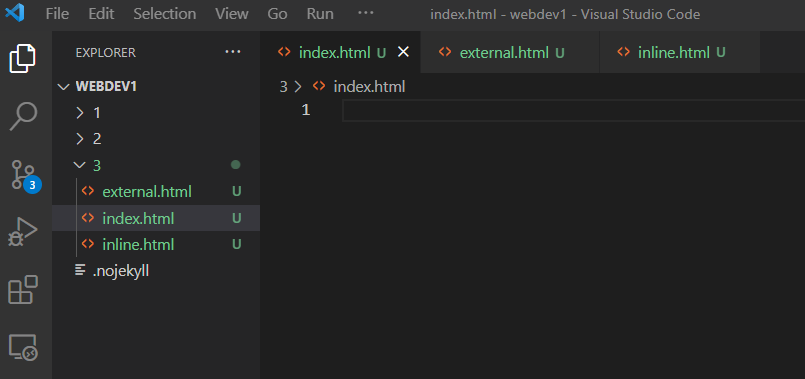
Copy the HTML code and text from your practice 2 file and paste it into
index.html,external.html, andinline.htmlnoteMake sure the HTML code passes HTML validation before proceeding.
After pasting, I am holding down
CTRLand the letterSkey to save the file on my Windows computer. On a Mac, you can hold downCommandand the letterSkey to save the file.Open each file in a separate tab in your web browser.
You could drag the files to an open browser window—like we did in the previous practice exercise.
Or another option is to install the "Open in Browser" VS Code extension.
See this page for information about managing VS Code extensions.
After installing that extension, you can right-click on a file and select
Open in Default BrowserYou will notice that the image you embedded using the
imgelement does not show up on the page.Since the image file is inside the "2" folder and not inside our "3" folder, this URL no longer works:
<img src="images/monkey.jpg" alt="A monkey riding an emu">Let's use this as an opportunity to learn more about relative URLs.
In each HTML file, change the value of
srcto a relative URL that points to the file in your "2" folder.The relative URL needs to provide directions from the practice 3 HTML file to the image file within the "2" folder.
The first step is to go back and leave the "3" folder. To indicate this in a relative URL, you use 2 dots, followed by a slash:
../dot-dot (..) means to go back a level in the folder structure. It's saying to leave the "3" folder in order to find the resource.
Then, we need to go inside the "2" folder:
../2/And the image file is within a folder named "images":
../2/images/And to complete the relative URL, we need to provide the name of the image file:
../2/images/monkey.jpgSo, your img element will look something like this:
<img src="../2/images/monkey.jpg" alt="purple monkey">After making changes to the code, you can save the file and then refresh the page in your browser to see the result.
In
index.html, use internal CSS to add styling to the page.No worries. It doesn't have to be pretty :) Feel free to have fun with this!
Here are some suggestions for CSS properties you might want to experiment with:
- background-color
- border-color
- border-style
- border-width
- color
- font-family
- font-size
- font-style
- font-weight
- letter-spacing
- margin
- padding
- text-align
- text-decoration
- text-transform
- word-spacing
You can see an example here:
https://40px.github.io/webdev1/3/index.html
Right-click on the page and select
View Page Sourceto see the HTML code in the file.Use a class or ID or both. And use the class or ID as a selector in the CSS.
For example, you could add a class to the h1 element:
<h1 class="page-title">Issues at the Reference Desk</h1>And use a class selector in the CSS to provide styling:
.page-title {
    color: red;
    font-style: italic;
}
Make sure that your CSS code passes CSS validation.
The simplest option is to copy your CSS code and paste it into the validator.
cautionDo not copy the
<style>and</style>HTML tags. Only the CSS code.Create a new file named
style.cssIn
external.htmladd a stylesheet link in the head of the HTML.Copy the CSS code from
index.htmland paste it into yourstyle.cssfile.cautionDo not paste the
<style>and</style>tags into style.css.Those are HTML tags. And the CSS file can only contain CSS code.
You can see an example CSS file here:
Add the class and/or ID in the HTML code of
external.htmlSee lesson 3 for more information about external CSS.
When completed,
external.htmlshould look identical toindex.htmlwhen viewed in a browser.You can see example files here:
Replicate this styling in
inline.htmlusing inline CSS.All 3 pages should look identical when viewed in a browser.
You can see an example here:
https://40px.github.io/webdev1/3/inline.html
Right-click on the page and select
View Page Sourceto see the HTML code in the file.Push your changes to your Github repository.
tipIf you need a refresher on how to stage, commit, and push, see the instructions for the previous practice exercises.
View your pages on the web:
- https://
github_user_name_here.github.io/webdev1/3/ - https://
github_user_name_here.github.io/webdev1/3/external.html - https://
github_user_name_here.github.io/webdev1/3/inline.html
- https://
Make sure all 3 pages pass HTML and CSS validation.
To check CSS validation on the web, you can enter the URL to the HTML file. The validator will retrieve the external stylesheet and check the code.
Or you can enter the URL to the external CSS file:
https://
github_user_name_here.github.io/webdev1/3/style.css